How to use collections
Step 1: Creating a Collection
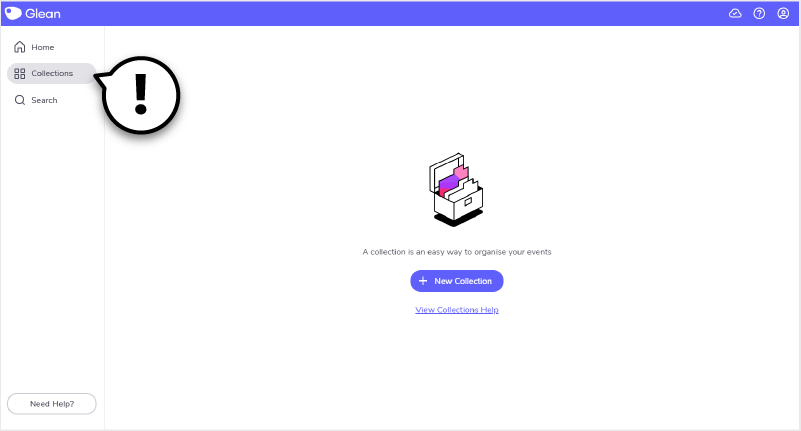
Let’s say you want to group your recordings by subject. Go to the Genio Notes home page and click the Collections tab on the left. Click ‘New Collection’.
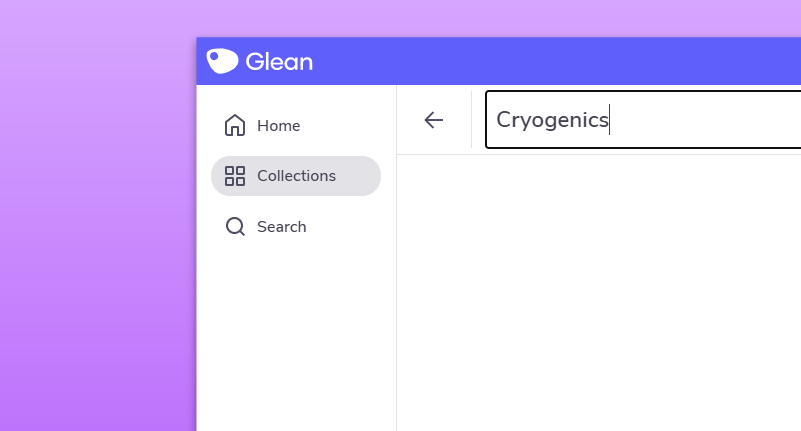
At the top, add your Collection name (in this case ‘Cryogenics’).
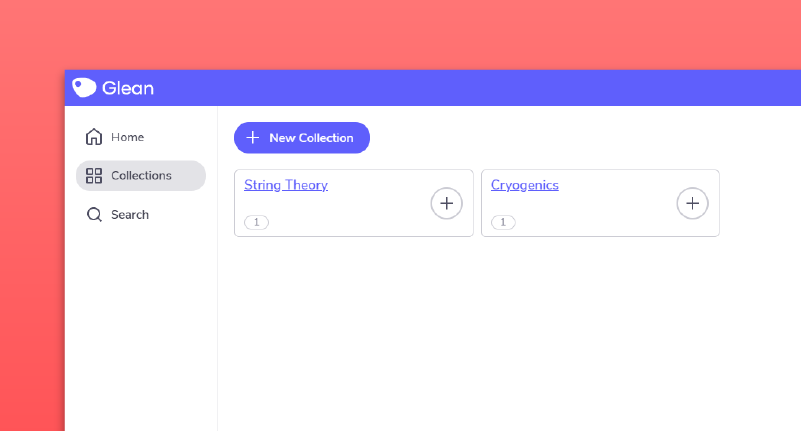
You can now add all relevant classes to this collection.
Repeat this step to create as many collections as you need for the semester.
Step 2: Add your Events to Collections
From the dashboard, find an Event you want to move into a Collection. Click the options toggle to the right.
Select ‘Move Event’.
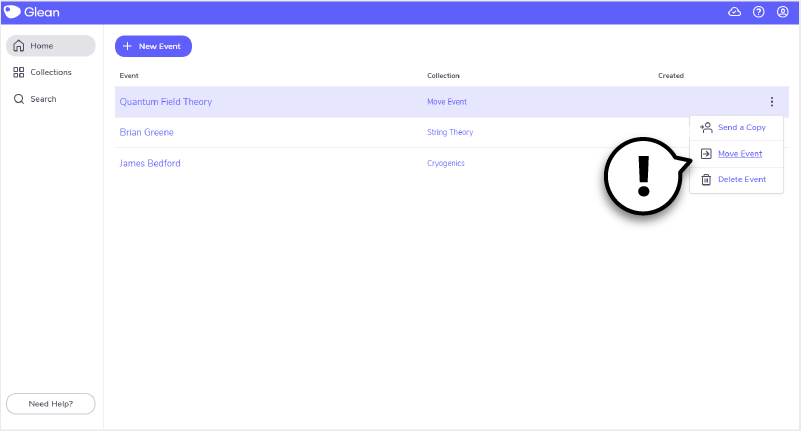
Select the Collection you want to move it to.
Voila! Keep going and you’ll soon have all your Events in the right place.
Step 3: Deleting Collections
If you’ve made a collection by mistake (or just want to reorganize), you can delete it by opening the Collection and clicking the options toggle at the top right of the screen.
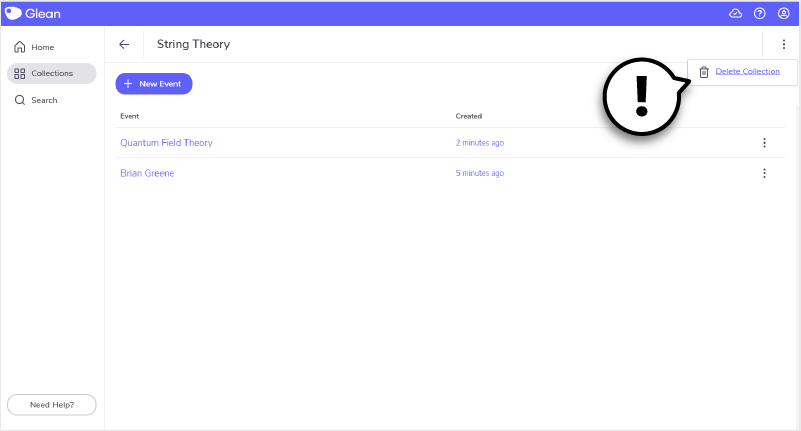
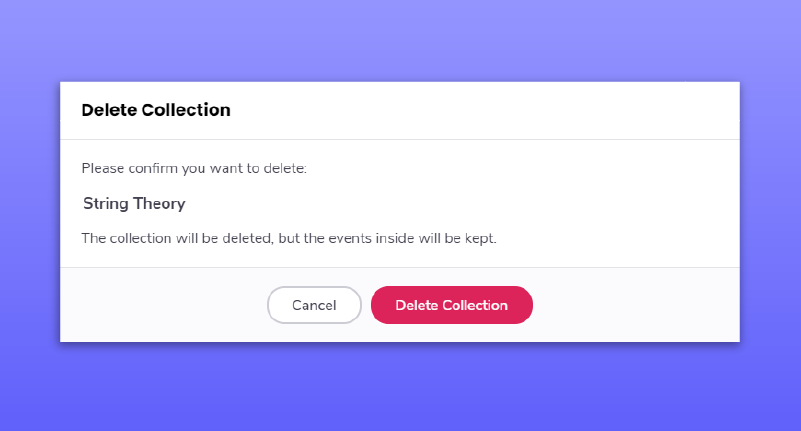
Follow the prompts to delete the collection. But don’t worry - as you’ll see on the pop-up window, deleting a collection will not delete its events.
‘Umm… sorry, what?!’
Need more info? Visit our help center for full guides on all things Genio Notes.
More from Product and feature guides
View All
Running a student email campaign
This guide is to help you and your team run onboarding email campaigns with your students, ensuring more get signed up to Genio Notes (and confident using it).

Genio Skills Portal
Find quick videos giving you an overview of the key functions of Genio Notes, and how to get the most out of your lectures with a structured note taking process.

How to record with Genio Notes
Whether you’re learning in class or online, recording is the foundation of your Genio Notes content.


